Appearance
Entries & rich text
An entry is a single timestamped note inside a timeline. Entries are where everything actually lives — text, formatting, attachments, and (optionally) a due date.
Adding an entry
- Click into the editor at the bottom of the timeline.
- Type your note.
- Press Save.
The entry appears in the timeline stamped with the current date and time.
Formatting
The editor toolbar gives you everything you'd expect from a rich-text note:
- Bold, italic, underline, and ==highlight==
- Bulleted and numbered lists, plus checkable task lists
- Tables
- Inline
code - Links
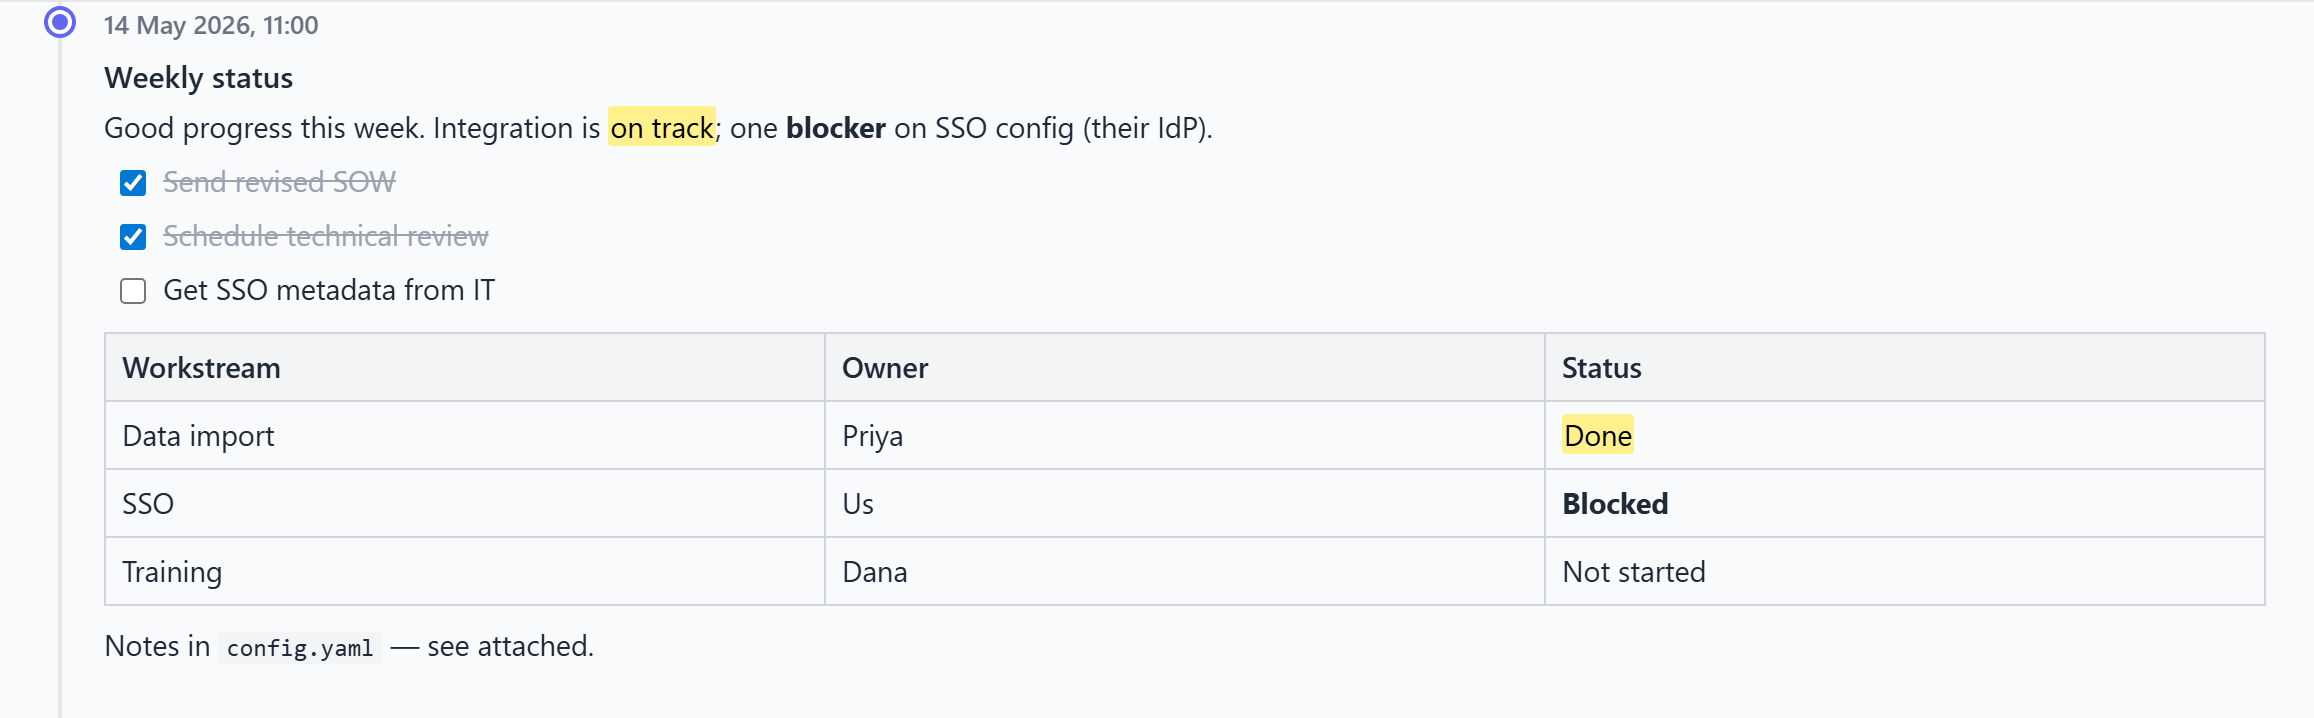
You can mix these freely within an entry — for example a short paragraph followed by a checklist and a table of figures.
Once a checklist has been saved, you can check or uncheck its items directly in the timeline — clicking a checkbox toggles it and saves the entry immediately, no need to open the entry for editing first.
Custom timestamps
By default an entry is stamped with the moment you save it. To record something that happened earlier (or schedule a note for later), use Set custom time in the editor before saving. This lets you:
- Back-date notes you're entering after the fact, so the timeline reflects when things actually happened.
- Future-date an entry to place a planned event at the right point on the timeline.
Entries always display in chronological order based on their timestamp.
Editing, copying, and deleting
Hover over any entry to reveal its actions:
- Edit — reopen the entry in the editor to change its text, formatting, attachments, or timestamp.
- Copy — copy the entry's content so you can reuse it elsewhere.
- Delete — remove the entry (and its attachments).
TIP
Want to reuse a structure — say a standard status-update layout? Write it once, then Copy that entry as a starting point for the next one.
Related
- Attachments — pinning files to an entry.
- Todos & due dates — turning an entry into a follow-up.