Appearance
Quick start
This walks you from opening Organizer for the first time to having a working timeline with a few entries. It takes about two minutes.
Install it as an app
Organizer is installable. Look for an Install app (or Add to Home Screen) option in your browser's address bar or menu to add it to your desktop or home screen. Once installed, it opens in its own window, loads faster, and keeps working offline.
1. Choose where your data lives
There's nothing to choose — Organizer starts storing your data automatically on this device the moment you open it, no setup step required. See Storage & backup for the full picture.
2. Meet the welcome timeline
On a fresh start, Organizer creates a Getting Started timeline for you with a short tour entry. Read it, then feel free to delete it once you're comfortable.
Deleted it and want it back? Open Home and choose Restore welcome guide.
3. Create your first timeline
- Press the + button at the top of the sidebar.
- Give it a name — for example, Acme Corp, Marathon training, or House renovation.
- It opens automatically, ready for your first entry.
4. Add an entry
- Click into the editor at the bottom of the timeline.
- Type your note. Use the toolbar for bold, italics, lists, links, and more — see Entries & rich text.
- Press Save. Your entry appears in the timeline with the current timestamp.
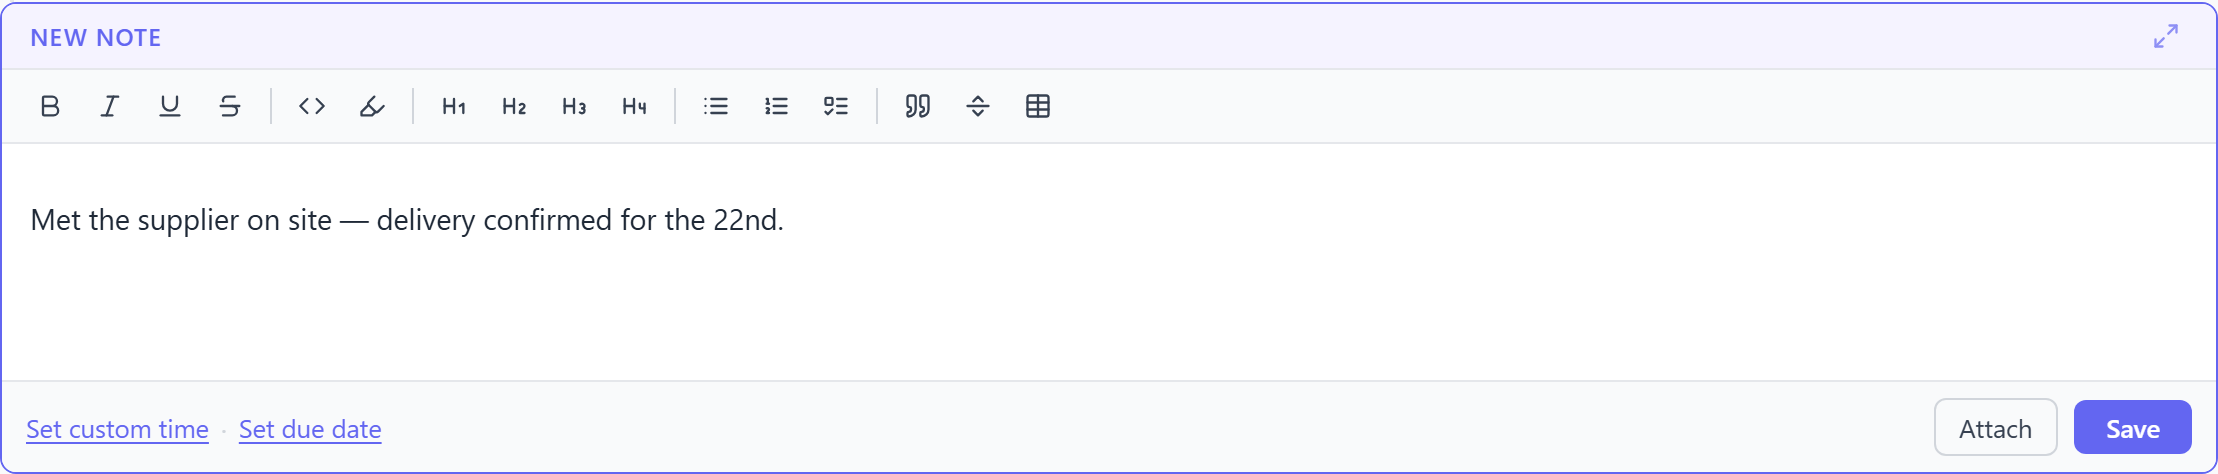
Want it dated differently? Use Set custom time in the editor to back-date or future-date the entry before saving.
5. Edit, copy, or delete
Hover over any entry to reveal Edit, Copy, and Delete buttons.
6. Back up your data
Because everything is stored locally, you own the backups. Head to Settings → Backup → Export to download all your data as a single JSON file. Do this whenever it matters — Organizer will also nudge you if it's been a while.
TIP
Export is your safety net. Clearing your browser data would otherwise remove your timelines, since everything lives in this browser on this device.
Where to go next
- Timelines — organising, renaming, tagging, and deleting.
- Todos & due dates — turning entries into follow-ups.
- Tags & search — finding anything fast.