Appearance
Todos & due dates
Any entry can double as a follow-up by giving it a due date. Entries with a due date that aren't done yet show up on the Todos page, so your action items don't get buried in the timeline.
Adding a due date
When writing an entry
In the editor, click Set due date (next to Set custom time) and pick a date. Save the entry as usual. It now carries a due-date lozenge in the timeline.
Once a due date is within a week, its lozenge also shows a small colored status badge — OVERDUE (red), TODAY (yellow), or DUE SOON (green) — so you can tell how urgent it is at a glance without opening the popover. The badge disappears once the item is marked done, or once the due date is more than 7 days away.
On an existing entry
Click the due-date lozenge on an entry to open the date popover. From there you can:
- Jump to Today, Tomorrow, or Next Week with one click.
- Pick any specific date.
- Mark done / Mark not done.
- Remove the due date entirely (turning it back into an ordinary entry).
Marking things done
Click the circle/check on an entry's lozenge — or Mark done in the popover — to complete it. Done items drop off the Todos page but stay in their timeline as a record, shown with a completed style.
Undoing a change
Ticked the wrong thing? For 10 seconds after any todo change, a small bar appears in the bottom-left corner with a countdown and an Undo button. Click it and the change is rolled back.
The window covers marking something done or not done, and setting, changing or removing a due date — from the Todos page and from an entry's lozenge in the timeline. Ordinary entry edits aren't included; they're saved as normal and have no undo bar.
There's only ever one pending undo: making another todo change replaces it, and the earlier change becomes permanent. Letting the countdown run out (or clicking the ×) does the same thing. The change itself is saved immediately either way, so nothing is lost if you close the tab while the bar is up.
The Todos page
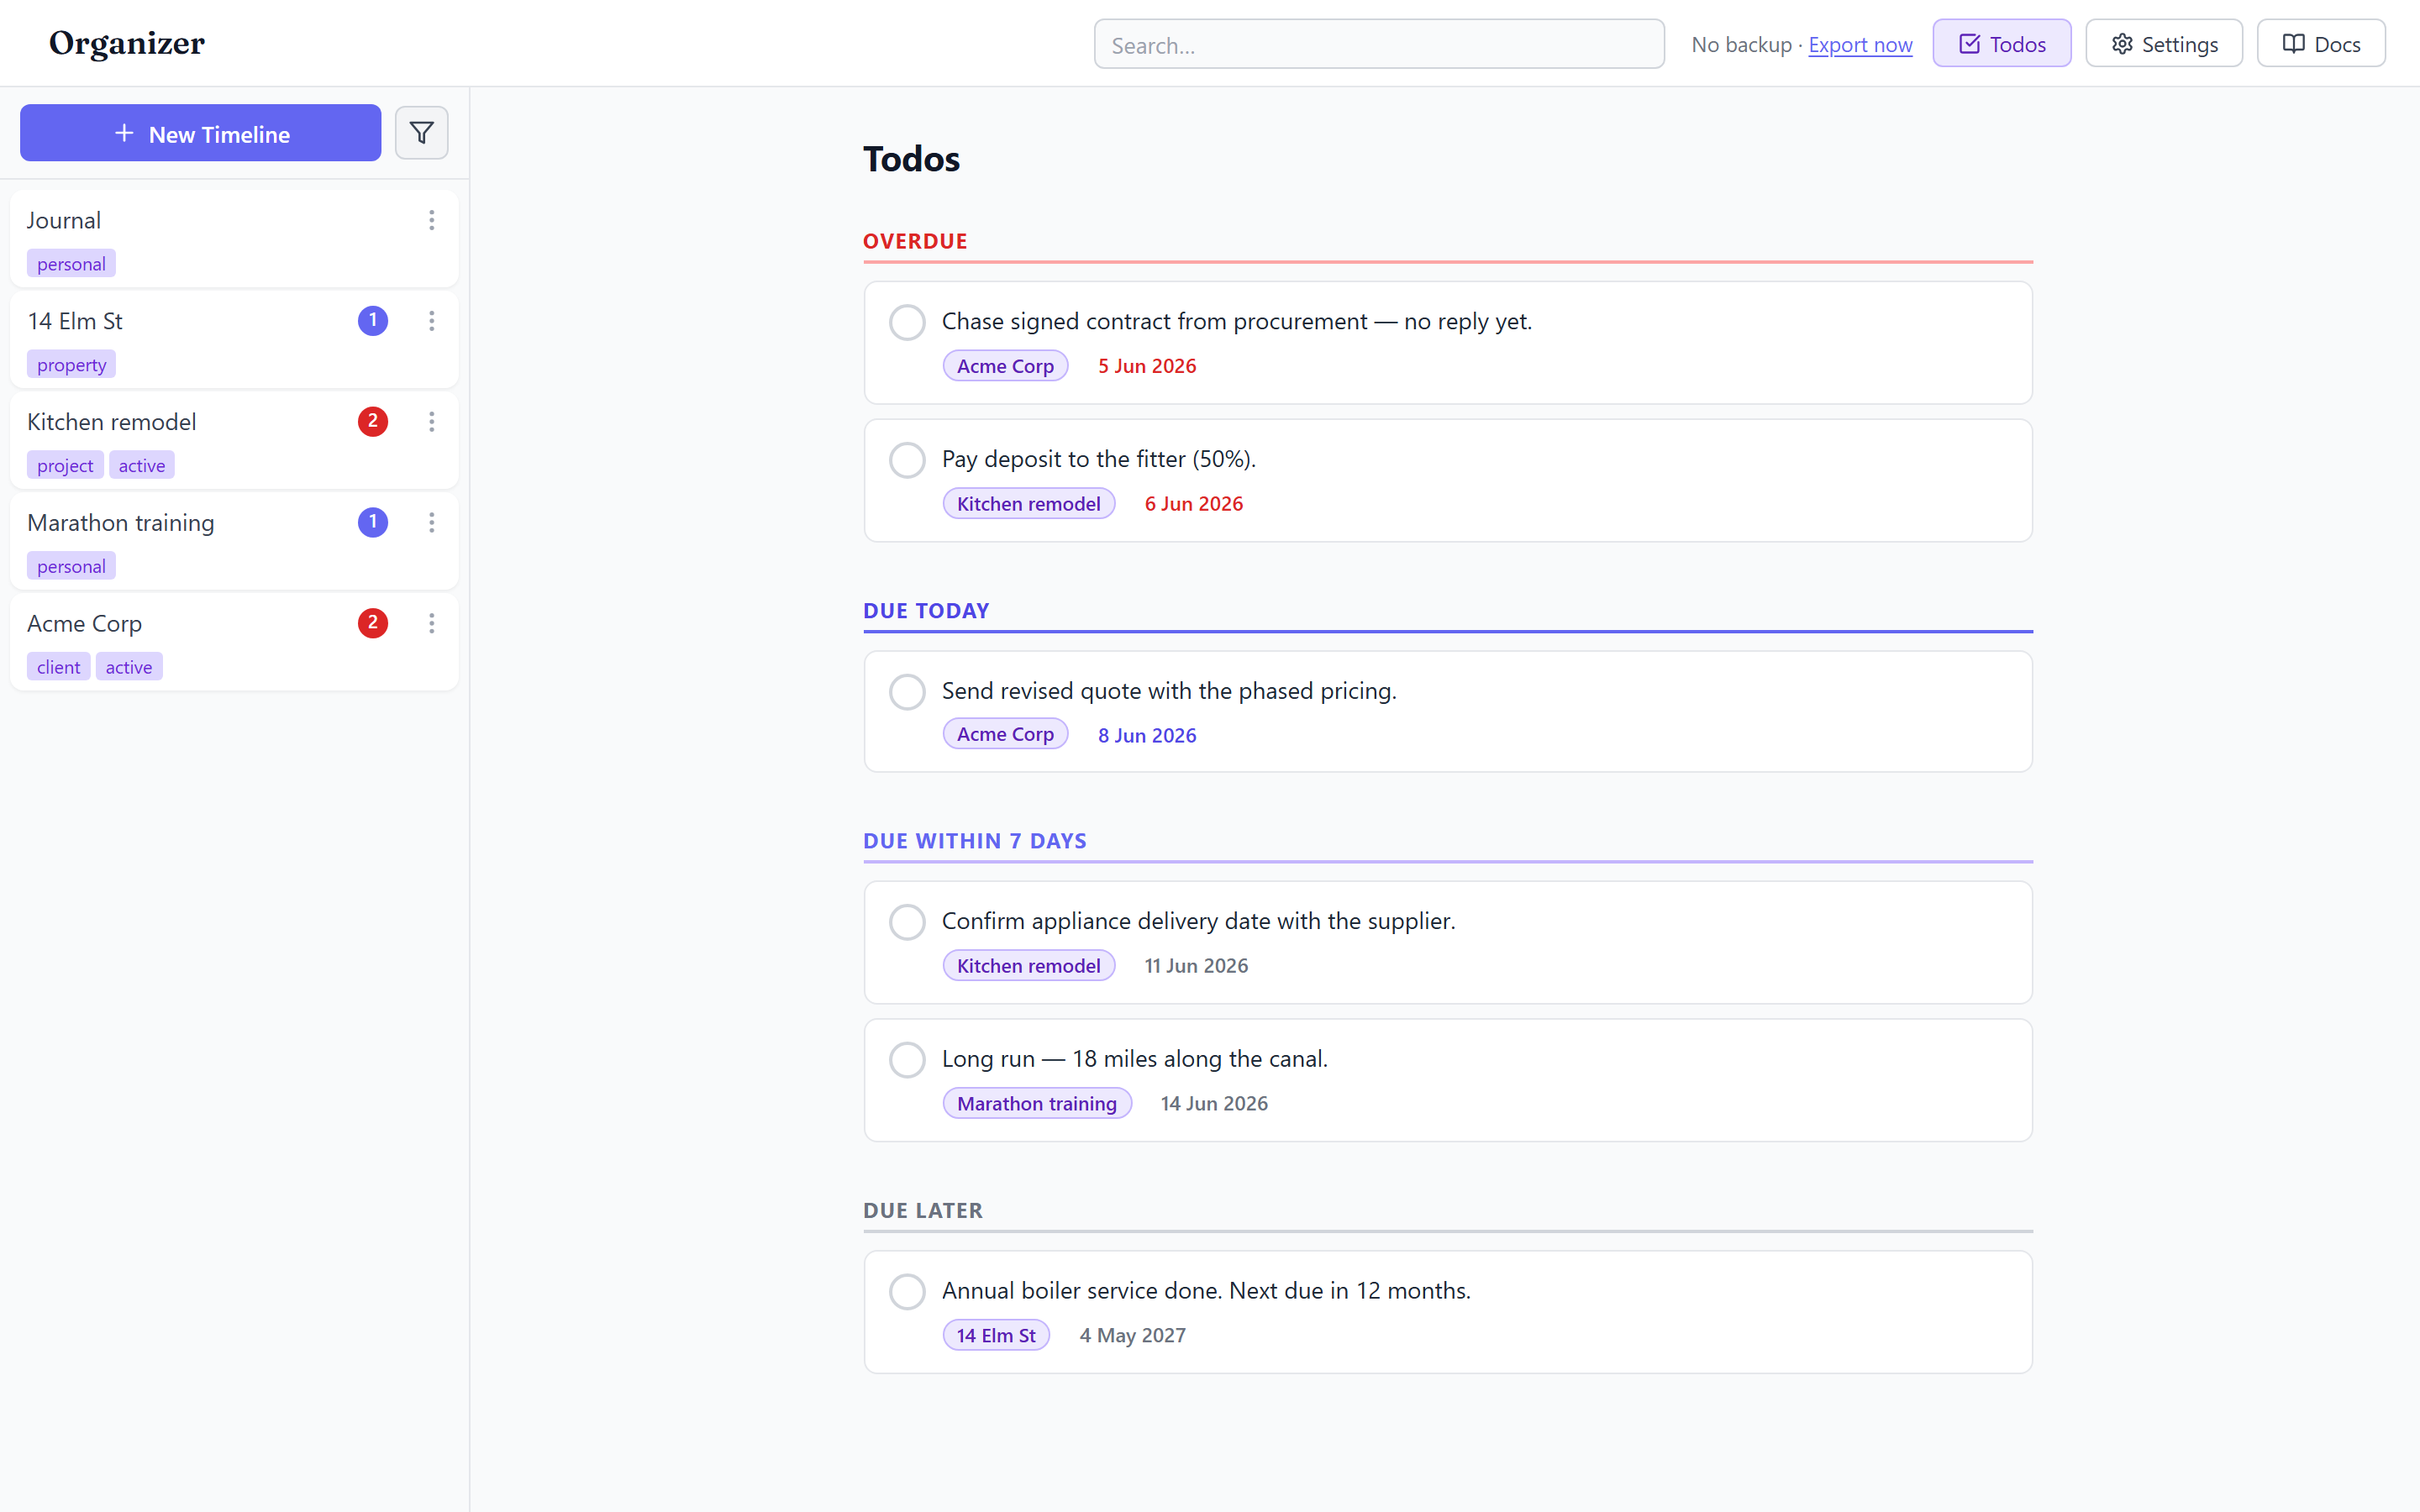
Open Todos from the header, the mobile menu, or the View Todos button on the home screen to see every outstanding follow-up across all timelines, grouped by urgency:
| Section | What's in it |
|---|---|
| Due Now | Overdue items and anything due today |
| Due Within 7 Days | The coming week |
| Due Within 30 Days | The coming month |
| Due Later | Everything further out |
Within each group, items are sorted soonest-first. Each card shows a preview of the entry and the timeline it belongs to. Inside Due Now that ordering floats the most-overdue items to the top, and every card keeps its own OVERDUE / TODAY badge so you can still tell late work from today's at a glance.
- Click a card to jump to that entry's timeline in context.
- Click the check on the left of a card to mark it done — it disappears from the list immediately.
- Click the due date on a card to reschedule it without leaving the page. The same OVERDUE / TODAY / DUE SOON badge shown on the entry's lozenge also appears here, right on the due-date button.
- Changed your mind? Use the undo bar that appears for 10 seconds after any of these — see Undoing a change.
When nothing is pending, you'll see "All caught up!".
A simple workflow
- As you log entries, add a due date to anything that needs follow-up.
- Start your day on the Todos page and work top-down from Due Now.
- Check items off, or reschedule the ones that need to slip.